There are no items in your cart
Add More
Add More
| Item Details | Price | ||
|---|---|---|---|
Vanidas Mangathil
Mon Jul 28, 2025
Welcome! If you’ve ever wanted to paint beautiful, expressive fields and bushes in watercolor - but felt overwhelmed by those tiny details - this is the perfect guide for you. Based on my YouTube video tutorial, this blog post breaks down my step-by-step process for painting loose watercolors, specifically focusing on lush grass and bushy elements that bring landscapes to life. Whether you're new to watercolors or an experienced artist looking to loosen up your technique, you’ll find practical tips and encouragement to boost your creativity and confidence.
Loose watercolor painting is all about suggestion rather than imitation. In this tutorial, you’ll learn to let go of perfectionism and discover how suggestive brushwork and clever color play can create landscapes that are both lively and deeply personal. The goal: expressive, atmospheric results - without fussing over unnecessary realism.
Paper: Indian Handmade Watercolor paper (I use "Chitrapat"), cold-pressed for lovely texture and endurance.
Watercolors: Lemon yellow, sap green, olive green, orange, Cerulean Blue, Payne's grey from Camel Artist Watercolours. Lavender from Aquatone Artist Watercolors.
Brushes: Synthetic squirrel imitation mop brushes for large, loose washes; synthetic round and rigger brushes for finishing touches.
You could use any similar brands of papers, colours & brushes that are available with you.
Begin with a light, watery wash using Lemon Yellow, Sap Green, and a touch of Orange. This sets the basic color mood for your field or grassy area.
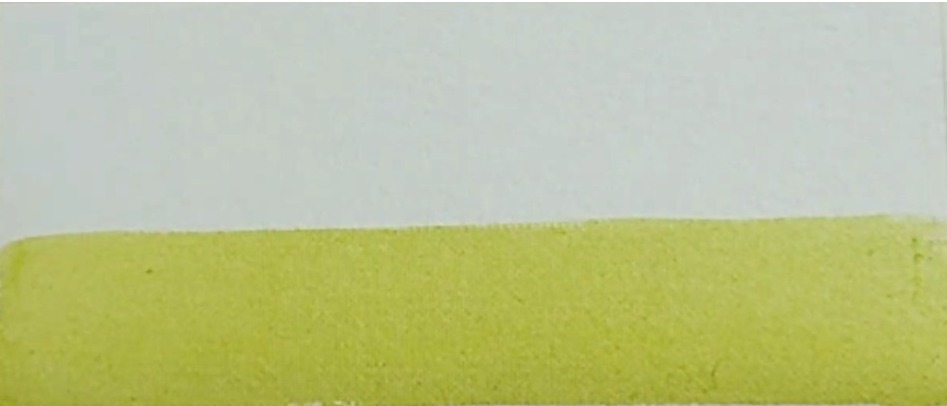
While the surface is still damp, softly introduce Olive Green and slightly darker hues. This suggested shadow area immediately starts creating volume and interest.
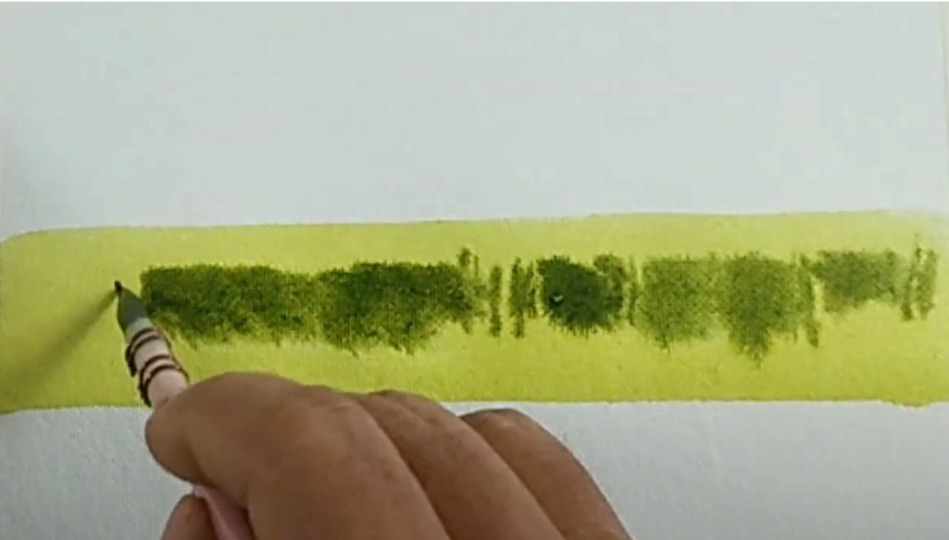
Grass isn’t perfect! Use thicker mixes and uneven, vertical strokes to imply tufts and bunches. Leave occasional white gaps for sparkle and movement - these will look like highlights or light catching on leaves.
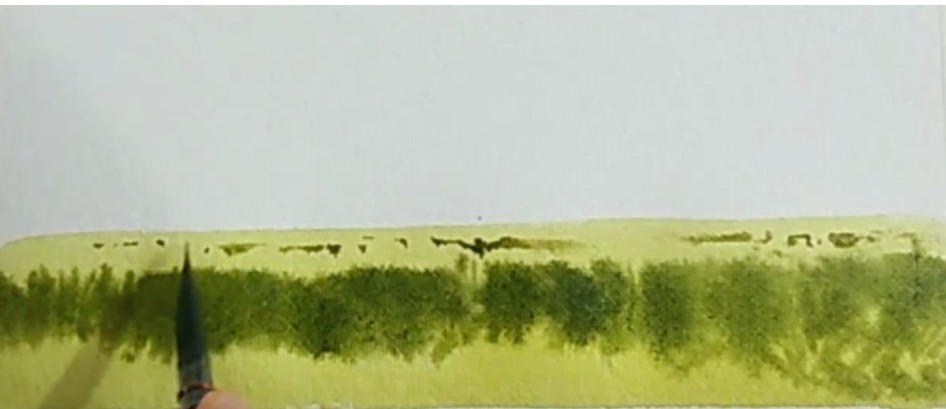
Once your first layers are semi-dry, return to deepen shadows and accentuate contrast by adding darker green or brown. Paint short, upward/downward strokes to mimic taller grass and bushy areas.
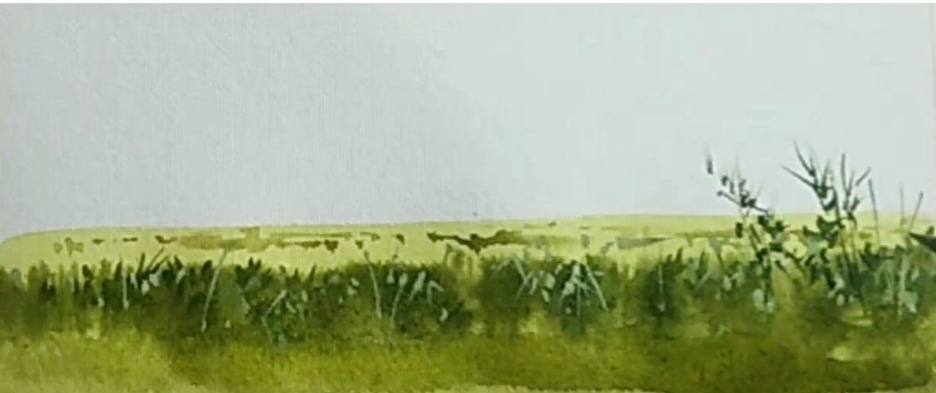
If you want a sense of space or distance, paint smaller bush shapes or tiny tufts further back, using lighter and grayer tones. This instantly adds depth to your scene. I have added a gray blue mountain to get more depth and a sense of completion of the scene.
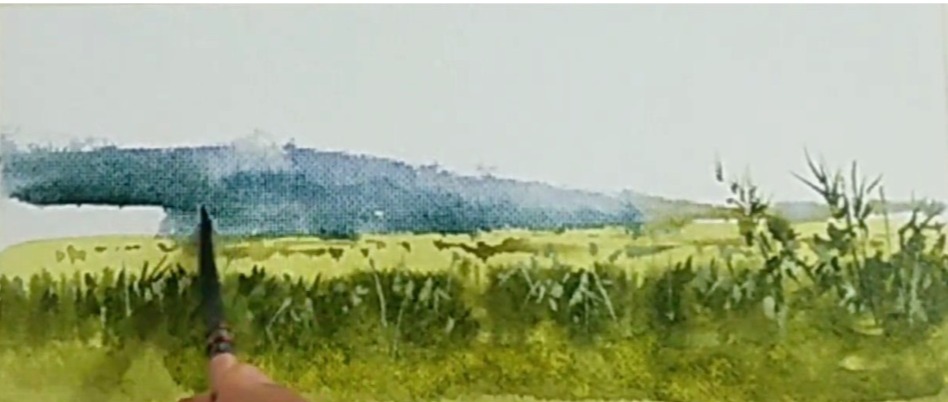
At this stage, you can do additional finishing touches if felt necessary. You may use a liner/rigger brush for occasional long blades or twigs. Feel free to add quick splashes or gentle smudges with a wet brush or sponge for extra vitality. I have just splashed some water droplets around the mountain to get some textures.
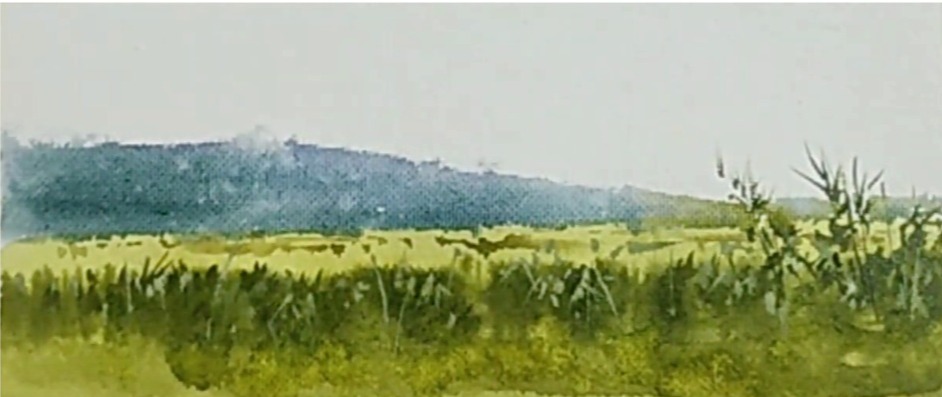
If you feel that the work needs more elements to feel 'completed', you can add sky, some bushes and trees. Place the trees and bushes to improve the composition. Below are the images with these additional elements.
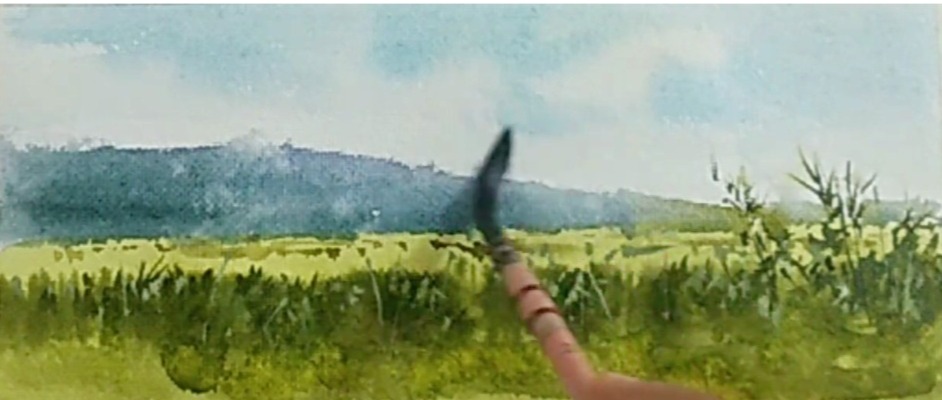
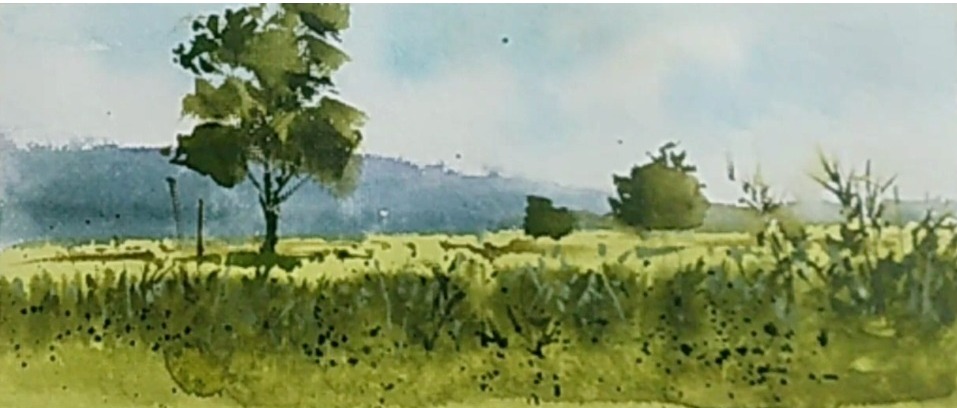
Full version of this tutorial is available as a video on my youtube channel. Watch the video here..
Don’t Chase Perfection: Let happy accidents happen!
Keep Your Brushes Dirty: Mix colors on the paper, not just the palette, for more depth.
Practice With splatters: Quick splatters with water droplets and some opaque/dark colors can help creating interesting textures.
Work Wet-in-Wet: This allows for gentler transitions and softer shapes.
Step Back Often: View your paper from a distance to catch the overall “feel” and composition.
My teaching style is open and approachable, encouraging you to enjoy the process while learning. Each tutorial is built on years of self-taught experience, and my focus is always on sharing practical ways to make watercolors less intimidating and more inspiring for everyone.
Ready to try this technique? Watch the full YouTube videos for a real-time walkthrough - and don’t forget to subscribe for more tutorials and demonstrations! Explore even more on my website to know more about my courses and other tutorial blogs.
YouTube: VanidasMangathilArt
Instagram: VanidasMangathil
Happy painting - and remember, every artist has a child inside who loves to play with colors!
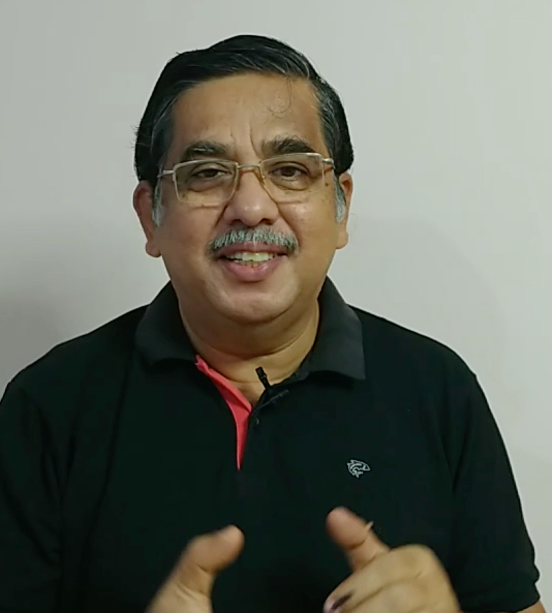
Vanidas Mangathil
Watercolor Artist from India.